
[ad_1]
Achieving a beautiful finish is a crucial stage of jewellery production and can really make or break a piece. Polishing can be extremely daunting at first as there are many stages involved in achieving a successful shine so to take some of the pain out of polishing, we have put together some top tips to help you on your way to a flawless finish.
Pumice Powder
Pumice Powder is an abrasive powder that can be used wet, with a brush or as a paste to clean up metal, pre and post soldering. It creates a lovely white, matt and grease-free finish which allows you to clearly see any marks or scratches which will subsequently need to be removed. It’s ideal as the first stage after completing a piece, as it allows you to see which stage you have reached.
Please note to make sure any pumice residue is completely washed away before moving onto the next stage.
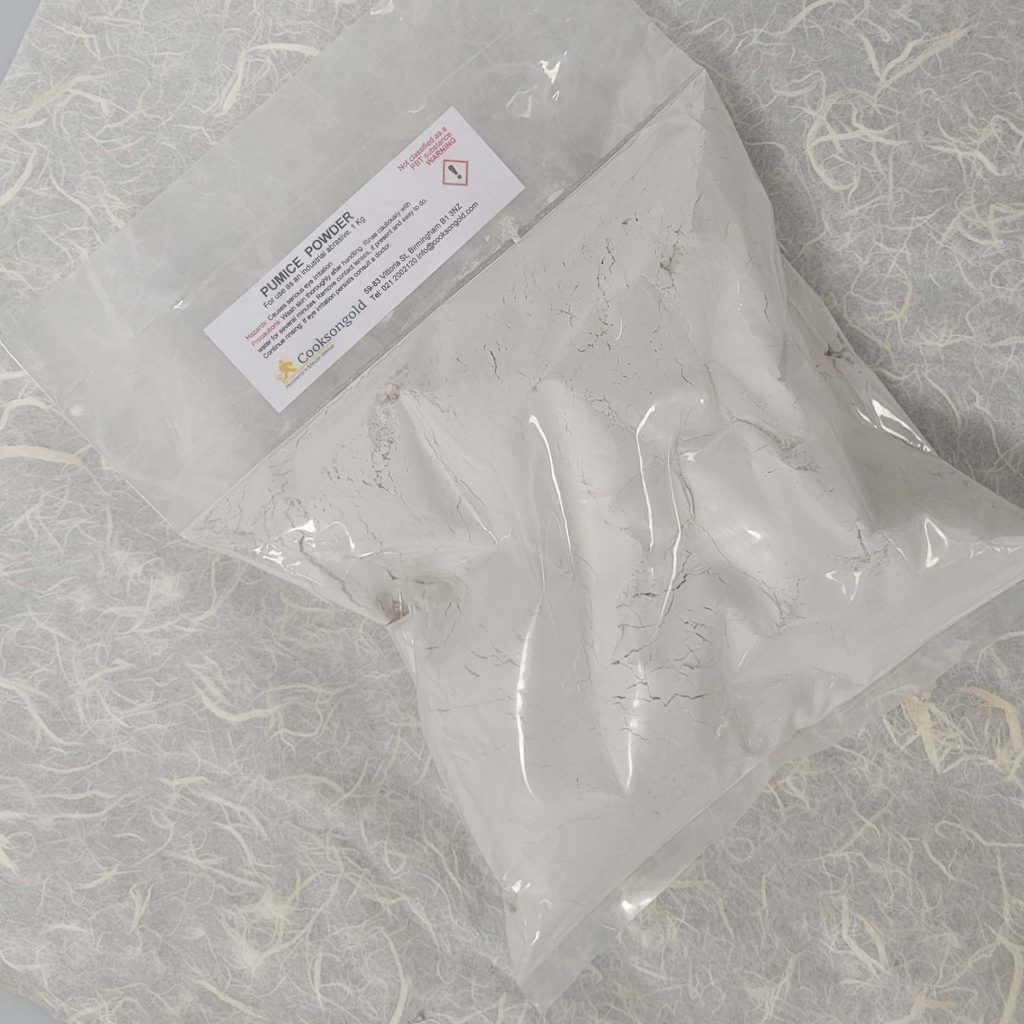
Pumice Powder 1kg
Don’t skimp on the preparation
It is impossible to achieve a good polish without first removing the scratches on the surface of the metal. This is done in the first instance with a file using smooth, continuous strokes, working in one direction. As with all polishing processes you always work from coarse to smooth, so use a medium or coarse cut file to remove any stubborn scratches and then move onto a finer cut to smooth off ready for the next stage
Take your time
The use of wet and dry papers or emery papers is one of the most time-consuming stages of the whole polishing process and needs to be done steadily working from coarse to smooth from 500 grit to around 1200 grit. Whilst there are no shortcuts, there are some products which will make your life easier
Micro-mesh
Micro-mesh is a cushioned abrasive material which is flexible, allowing it to self-level, thus avoiding any unwanted scratches from being produced from some of the coarser grits. The flexible fabric backing doesn’t rip, and it doesn’t get overloaded with waste material thanks to the spacing of the grit particles. It can be cleaned and reused which also makes it extremely cost effective. The firmer backing material allows you to put more pressure on whilst working which ultimately speeds up the job, so these are very handy consumables to have around.
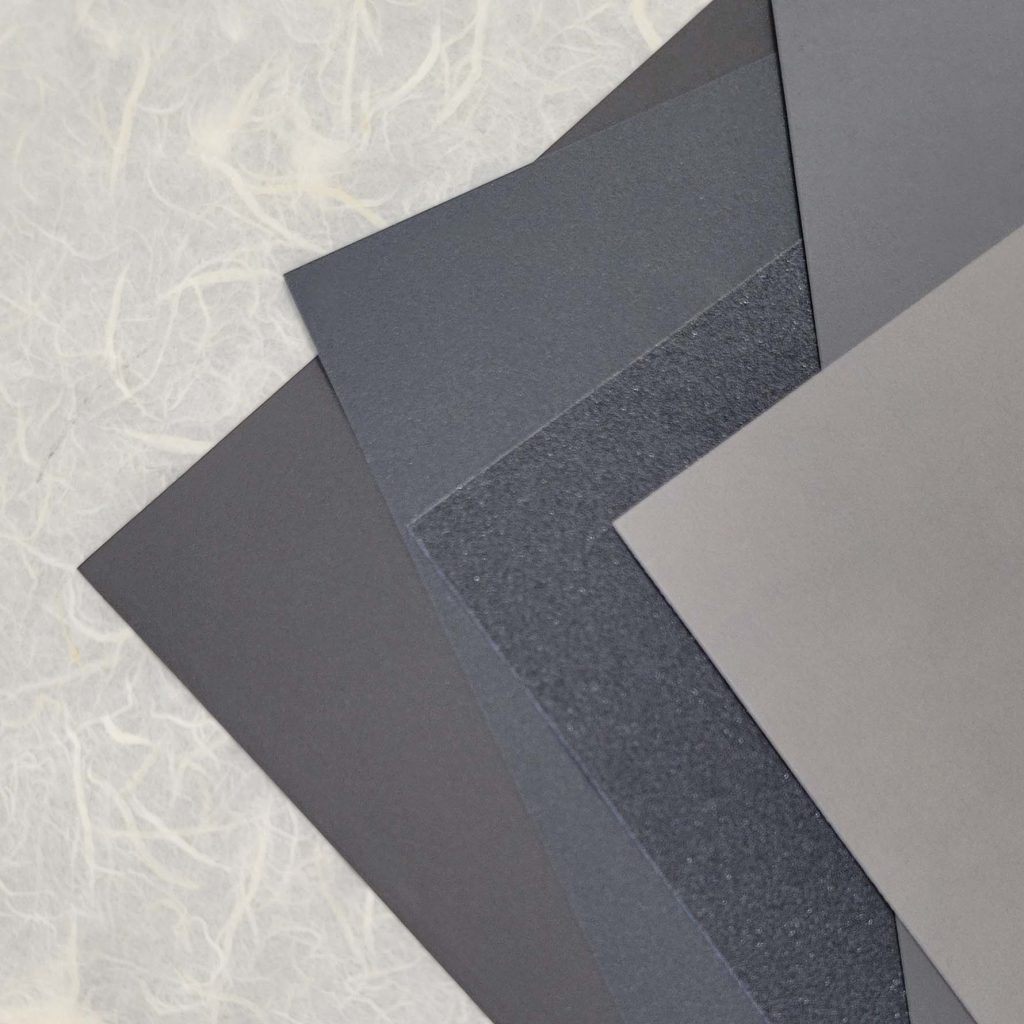
Micromesh Starter Kit
Shortcut for detailed work
After the emery paper stage, it is perfectly possible to barrel polish detailed pieces to a satisfactory finish using mixed steel shot and polishing compound such as Barrelbrite. There are a few golden rules to remember:
· Never overload the barrel with too many pieces as they may damage one another.
· Always ensure any pieces with holes have wire threaded through and secured to prevent the shot from jamming together inside.
· Never put chains into a barrel polisher without first threading them onto a wire and securing.
· Don’t attempt to barrel polish items with larger, plain areas of metal on show as these will become pitted by the shot and not achieve a good polish.
· Remember, more Barrelbrite doesn’t equal a better polish. Follow the instructions to the letter otherwise you may find foam spilling out from the top of your barrel.
Mop Polishing de-mystified:
In simple terms, mop polishing is done in two stages: cutting and polishing.
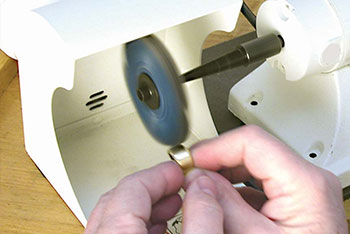
Cutting
Cutting uses a coarser compound (e.g. Tripoli) and a harder mop and is where you will get any remaining scratches out which are leftover from filing and the wet and dry paper stage. The idea is to pre-polish before the final polish. Ideally, you need to use a stitched or felt mop
Polishing
Polishing uses a finer compound (e.g. Rouge) and a softer mop to buff your metal up to a high shine. Mops can be made of loose fold swansdown, chamois and super soft cotton.
Here is a list of key points to keep in mind:
· Polish is applied to the mop once it is rotating not when it is stationary. Simply push the bar of polish against the lower half of the wheel for a second or two whilst holding firmly.
· Always polish pieces using the lower half of the polishing mop, that way if the piece flies out of your hand it will go into the back of the machine not across the room.
· If you are finding black sludge all over your metal, you have overloaded the mop with too much polish. Wash the piece in warm soapy water to remove it and continue.
· Any small or fiddly items such as chains can be held against a flat piece of wood or a mandrel to make polishing easier when they heat up. (Ensure they are flush against the surface to prevent the wheel from grabbing them).
· Although it is tempting, never, ever wear gloves when polishing as this is a safety hazard. If your fingers need some protection from the heat, use protective finger tape or finger protection skins.
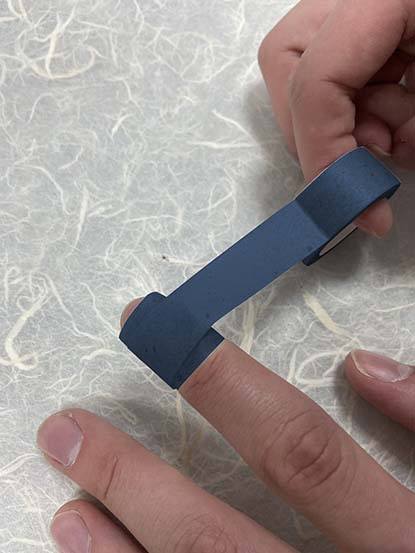
Leather Finger Protector Small Pack of 5
Hopefully this will give you an insight into how to achieve a flawless finish using the correct techniques.

[ad_2]
Source link


More Stories
Exploring the Ever-Changing Fashion World
Key Insights into the Fashion World Revolution
From Runway to Real Life in the Fashion World